 The 4th of July is nearly here and it's fun to tuck little hints of red white and blue throughout the house. Here are a few pictures of patriotic hearts that helped inspire this week's project.


I thought it might be fun to incorporate chenille to highlight the "stripes" of the stars and stripes. If you aren't familiar with how to make chenille you can learn about it here.
Come along and learn how to make these cuties.
What you need:
Blue felt
Red felt
White felt
Note: make sure you thoroughly wash your felt before you start.
Twine
Poly fiberfil
Sculpy clay (I used silver)
Craft paint
Embossing powder
1. Layer your white felt between two layers of red felt and sew together by following the chenille tutorial. Stop after cutting the lines. For this project I made the seams 1/2" apart instead to give a little more wave to the stripes.
2. Right sides together sew your blue felt to the layered and cut red/white felt.

3. On the right side of the sewn felt trace your heart pattern using sewing chalk. Mine is 5" at its widest part. You can turn your heart upside down to get more mileage out of your fabric (thrifty AND patriotic - what a combo!).

4. Pin a piece of felt to the back side of your red/white/blue combo. I used white, but it's your choice.
5. Following your chalk outline stitch the front and back fabric together. Leave just a small opening on one of the sides for the fiberfil.
6. Cut your hearts out about 1/4" away from the stitch line.

7. Wash your hearts to bring out the chenille. Why wash your felt first if you are just going to be washing it anyway? Because you don't want any bleeding of the dye. After all - you want a red white and blue ornament, not red pink and blue.
8. Stuff your heart, but not too full. You want to be able to sew the opening shut with your sewing machine.
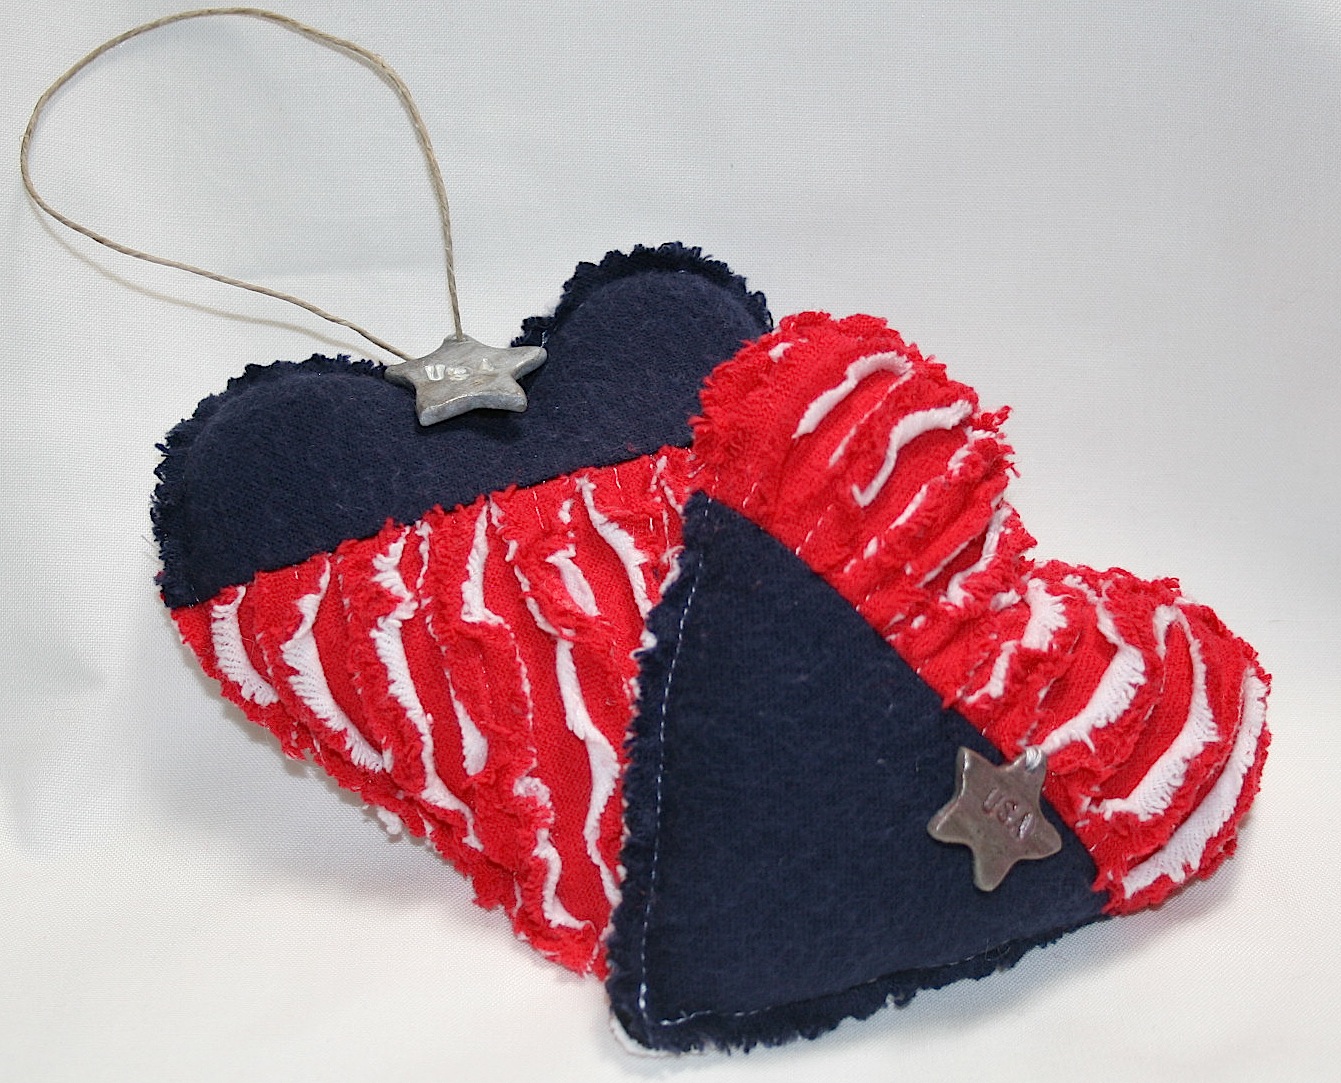
9. Finish your heart by adding a small clay star to it. I sewed one directly to the heart. Note: Sorry, I didn't take pictures while I made the clay stars. Here's a lovely tutorial from my shine project. I added a little bling by painting over the letters and rubbing off the excess so the USA stood out a little more. Then I added just a hint of silver embossing powder to make the star look more like metal than clay.
10. To turn your heart into an ornament use a seam ripper to remove just a couple of stitches from the top of the heart. Tuck some twine into the newly created opening and stitch the opening closed (capturing the twine in the stitching). Add a dab of fabric glue just for good measure.

Just like that you are done! Make sure you make a few, trust me, you can get a bunch out of 1/4 yard of felt. They look great tucked amongst your family photos on a shelf or hung over a door knob.
No comments:
Post a Comment