When my husband and I bought our first home many years ago
it took just about every penny we had to our names. And when I say every penny I mean that first year we
couldn’t even afford a Christmas tree, let alone gifts to put under it. We slept on hubby’s college water bed,
kept our clothes in my parent’s old dresser and my fantastic mother-in-law gave
us her dining room set so we didn’t have to eat off of TV trays. It was a beautiful set, and I was so
grateful to have it.
Fast forward 26 years and that fabulous set was showing its
age (much like me). The legs have
been chewed on by three different dogs, someone left a leaky iron on the table,
and who knew southwest mauve could ever go out of style?

I wasn’t ready to give up on this set, and hey, the new one
I picked out was over $7,000 (ouch).
But what to do? The idea of
sanding six chairs with so many curves did not appeal to me. Taking some inspiration from Pinterest
I decided to try my hand at painting the set. Best case scenario I’d be happy with the outcome, worst case
I needed a new set anyway.
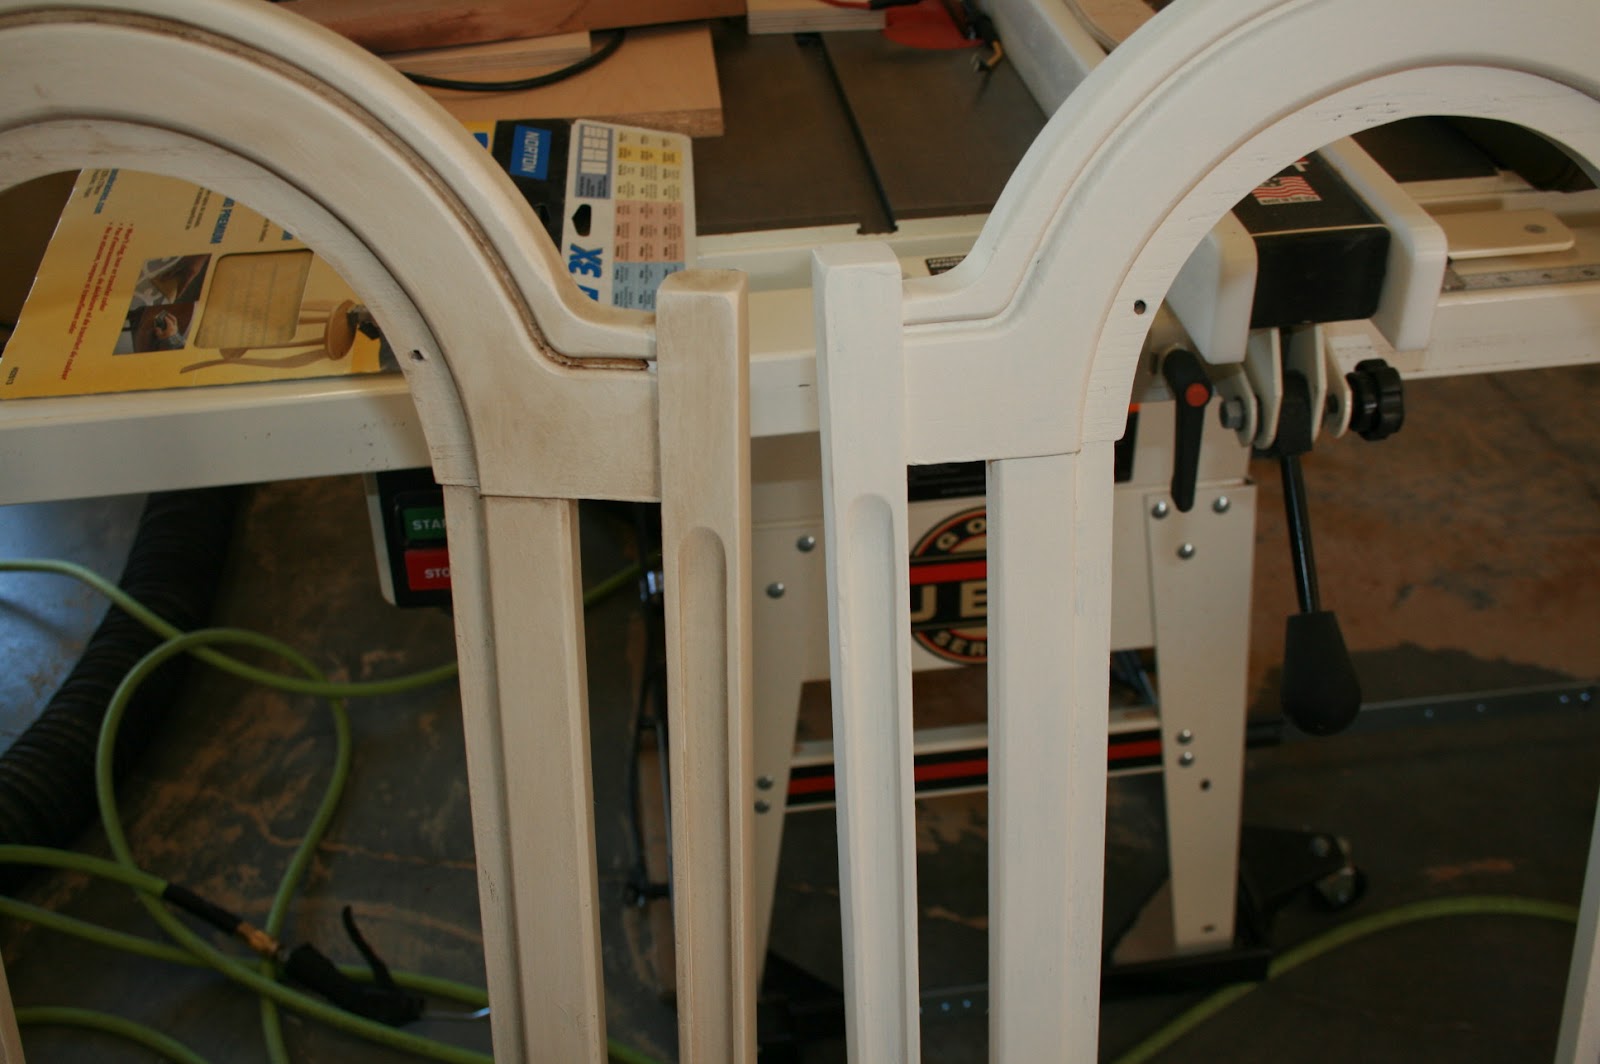
Step one: I used wood filler and filled in all the puppy
chew marks on the legs.
Step two: I lightly sanded all the chairs and table base
just enough to rough up the surface.

Step three: Using flat paint I painted the chairs. I just color matched the baseboard
paint to ensure it would coordinate; it took three coats. My guess is that if my sanding had been
a little more thorough it would have only taken two coats, but with all those
nooks and curves I think I would still be sanding today! Make sure you let the paint dry
completely between coats.

Step four: The thought was to get some faux age into the
nooks by rubbing some stain over the furniture and wiping most of it off. The happy accident is that not only did
I get that dark tone in the nooks, it gave a nice patina to the overall
finish. Yeah!
Step five: Because the stain is soaking into paint instead
of wood it took much longer to dry – I let it sit two whole days.
Step six: The tabletop had water damage to the veneer, so I
knew I really had to sand that out.
Another happy surprise…the damage sanded out without ruining the
veneer! This excited me so much I
decided to re-stain the top; this took two coats of stain.

Step seven: Sealing the table and chairs to protect the new
finish.
I use Old Masters gel polyurethane. This is the greatest product ever
invented. If you aren’t using it
run, don’t walk, to their website myoldmasters.com and find your local retailer. I can’t say enough about
this product; it leaves your wood with a finish smooth as a baby’s butt. It looks like petroleum jelly; you
apply it with a brush and wipe the excess off with a soft cloth. Zero bubbles, zero brush marks. Did I mention I LOVE this product?
Step eight: Re-upholstering the chairs. This post is more about the wood, so I
didn’t take photos of the upholstering.
Sorry. Here are the quick
cliff notes:
1. Unscrew
the back and bottoms of the chairs.
2. Remove
the 500,001 staples that hold the fabric in place.
3. keep
the fabric from one seat and one back to use as a pattern for the new fabric.
4. Determine
the yardage you will need by first measuring your “pattern”. Most upholstery fabric is 54” so using
that as a guide to determine if you will be able to “stack” any of your pieces
(I could fit two seats in the 54” but not two backs). MAKE SURE YOU BUY ENOUGH FABRIC – ESPECIALLY IF YOU ARE
USING A PATTERN THAT NEEDS TO BE CENTERED.
5. Cut
out new cushions if you need to. I
lucked out there and could re-use mine.
6. Place
your new fabric over the cushions and use 500,001 staples to fix everything in
place. You want to pull snugly on
the fabric, but not so tight that you are warping it. Start by putting a couple staples on top, then bottom, then
left side and lastly right side. That
gets everything in place, and then you can staple like there is no tomorrow.


Step nine: screw the back and seat to the chairs and
voila! New dining table and
chairs.
I think it looks great;
that old set has a new life. Of
course I put it immediately back to work as my craft table. Oh well, at least it looked good for a
day or two.
