
My original inspiration came from a site called Little Lady Patchwork. It's a sweet little tutorial for a heart table runner. I know, I know bunnies and hearts aren't the same...and I used stenciling instead of appliqué. It was just an inspiration after all.

Here's what you need:
1 yard of white muslin (90" wide)
1 yard of warm and white batting (90" wide)
1/2 yard of coordinating fabric for binding
Square buttons
Freezer paper
Fabric paint
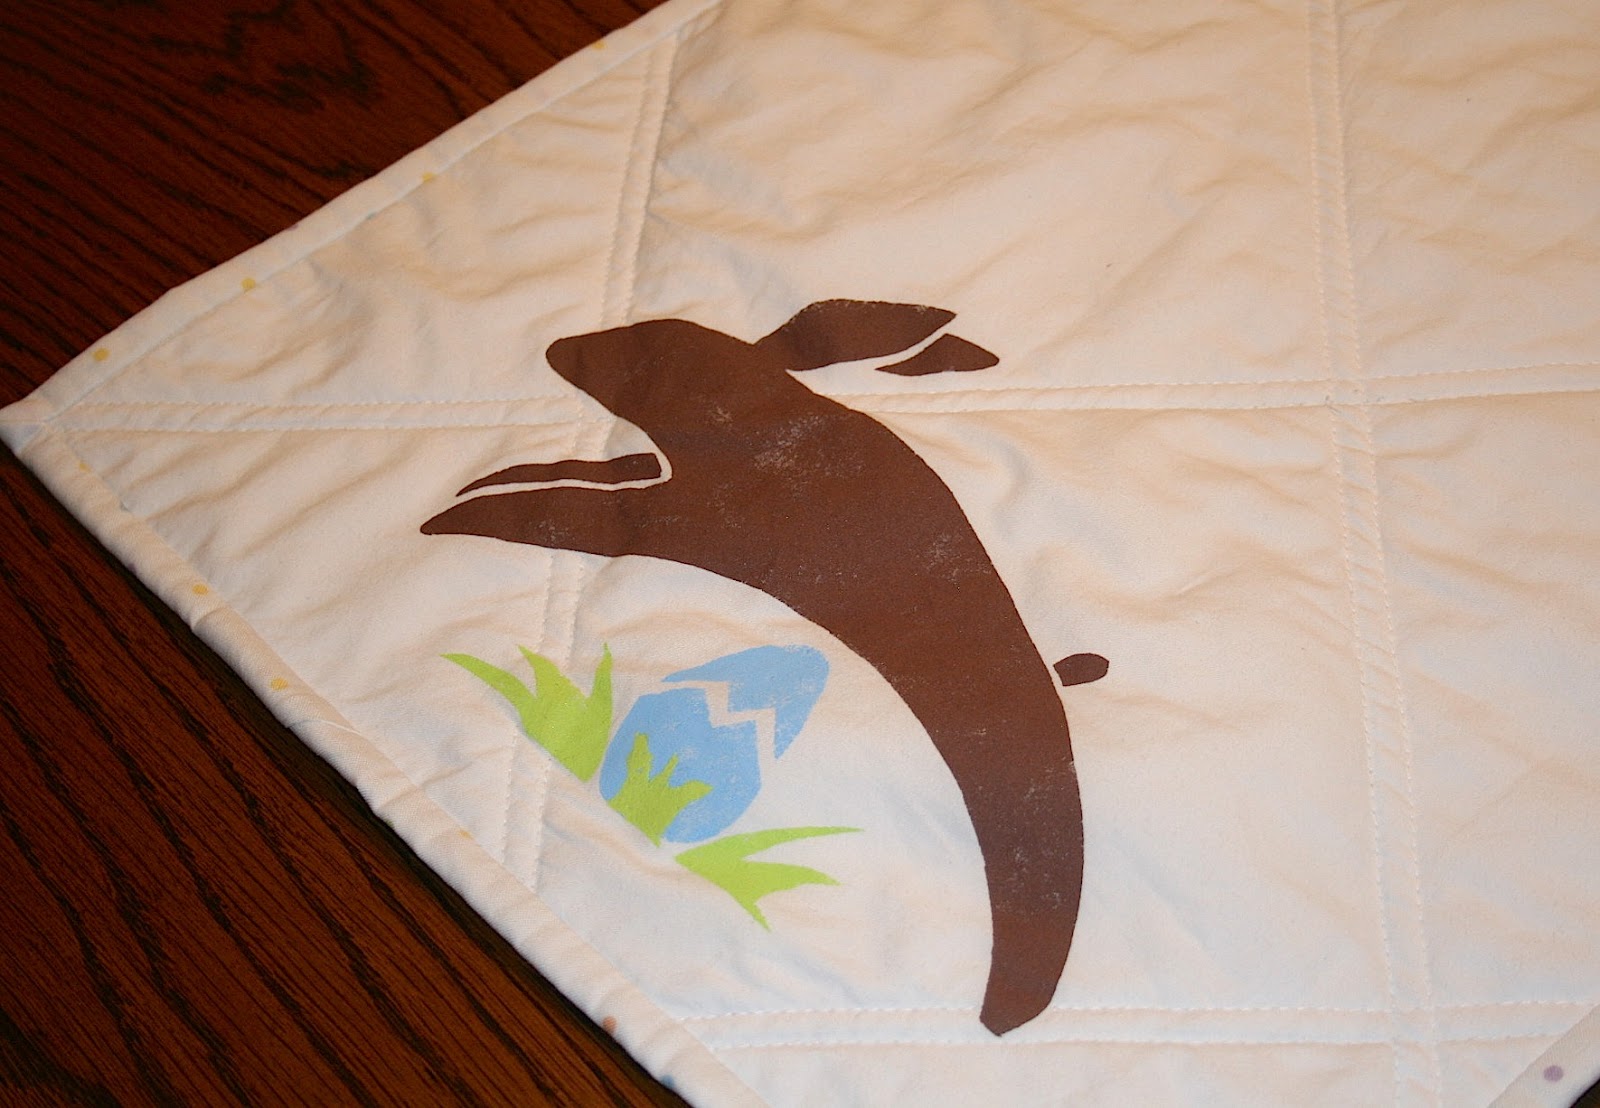
The fabric measurements were based on a table runner that measures 14"x75". Cut one piece of fabric that size. Cut a second piece of fabric and the batting slightly larger (about 1-2" all the way around). I searched the web for a relatively simple bunny to convert to a stencil, but didn't have much luck finding one, so I drew my own. Feel free to use it.

Sorry, I couldn't figure out how to load the PDF :-( You should be able to save and resize it. Trace your pattern onto the dull side of freezer paper, carefully cut out the design and iron it to your muslin (don't you LOVE freezer paper stenciling?). I wanted to minimize the chance for any bleed under the paper so I applied my paint with a stencil brush. Notice that the color chosen for the bunny is chocolate? Oh, the irony. Let the paint dry.


While your paint is drying tape your second piece of fabric to a flat surface.

This makes quilting sooooo much easier! It really helps with puckering on the back of the quilt. Layer your batting and then the stenciled fabric and pin, pin, pin in place. Usually quilts are many pieces of fabric sewn together, but this one is a solid piece of fabric. I wanted the stitching to be the pattern rather than the fabric. Using fabric chalk I marked a simple lattice design on the fabric and stitched it. Once stitched trim the excess fabric.

Next, add your binding. I'm not going to do a step by step for quilt binding; there are many wonderful tutorials on youtube that are very informative and easy to follow. Here's the runner with the binding: 
I used a white cotton that had pastel polkadots for just a wee bit of contrast. Technically, the table runner is complete, but it just didn't feel complete. There was just a little something missing. Combing through my local fabric store I came across some little square buttons with the same colors from my polkadot binding - almost like it was meant to be. I sewed the buttons in the intersections of my quilt lattice and NOW my creation is complete. The buttons are nice and thin so you don't need to worry about placing dishes on the table runner. Not only does this look great on the dining room table, it looks nice at the foot of the bed as a bed scarf...after all...it is a quilt.

Here's a picture of the button/bunny detail.

No comments:
Post a Comment