
The original inspiration came from the Mizerella blogspot.

The post on how to make costume awards out of dollar store skeletons cracked me up. So I jumped in the car and headed for my nearest Dollar Tree. Not only did I find the skeleton garland, it's also where I found those great orange mugs for my "painted mug" tutorial.

What you need:
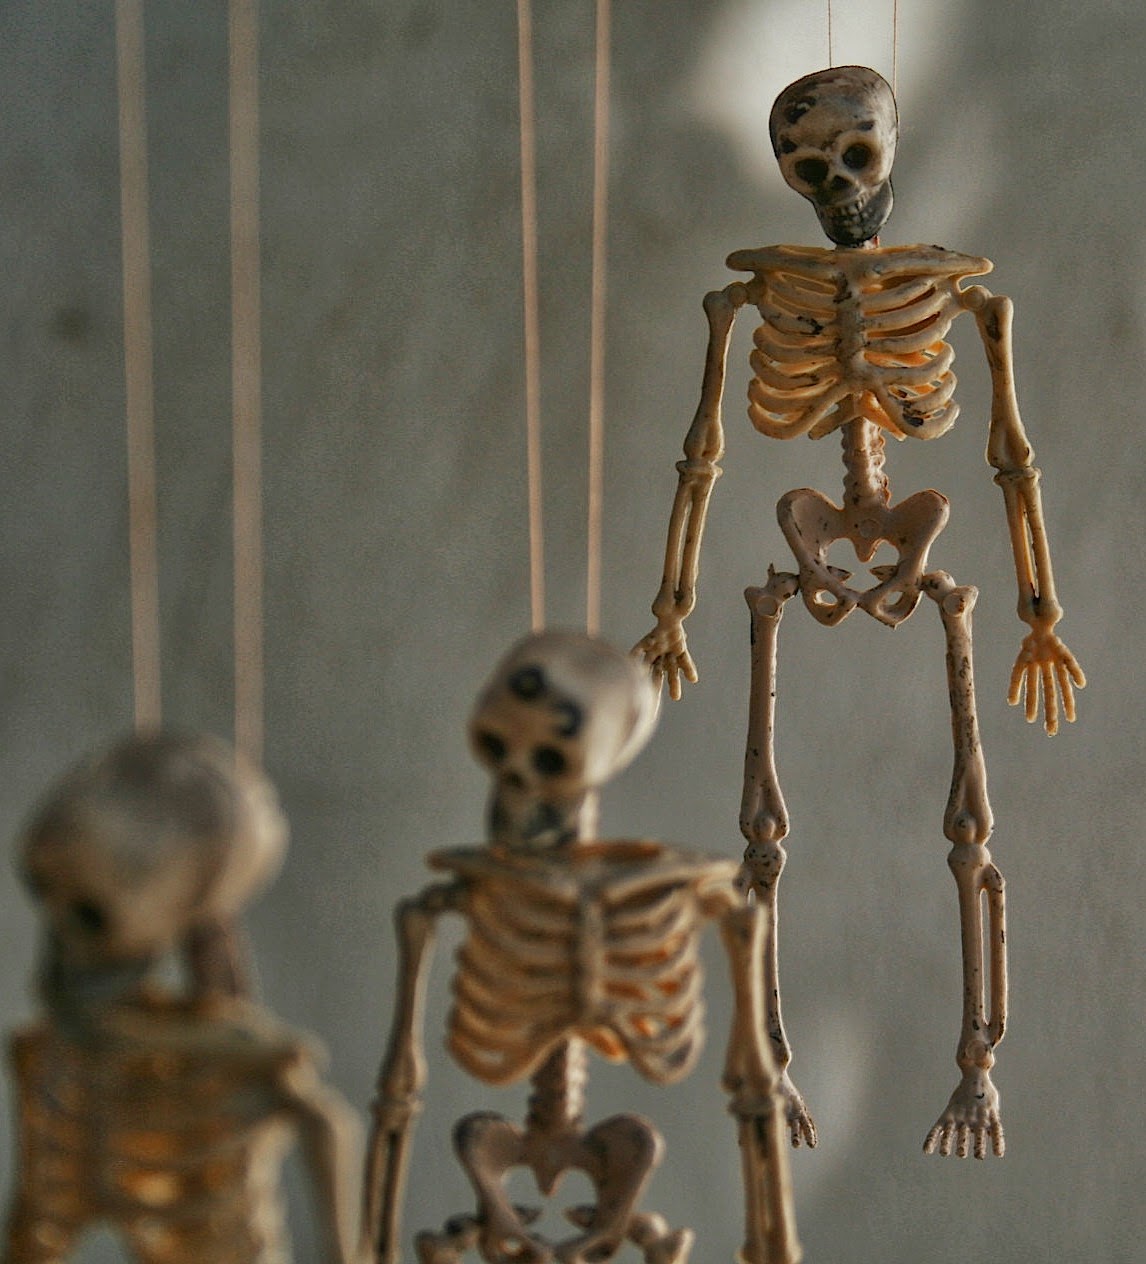
Plastic skeletons garland (found at Dollar Tree)
Chrome spray paint
Chenille twist wire
Thread
Thin black ribbon (or twine)
Fun Fur in black
Scrap of ribbon
Jingle bell (found at Joann's)
Instructions:
1. Start by cutting the twine off of your skeleton garland. The garland comes with four, but I only used three.

2. Take some sewing thread, double it up and make a knot...just like you would if you were going to sew, but leave out the needle. This will make a handy loop that you can gently set your skeleton in. What you are looking for is a way to suspend the skeleton for painting that won't get in the way.
I looped the threads through a stick and suspended the stick between two sawhorses, I'm sure two chairs would do nicely if you don't happen to have sawhorses lying around.
3. Using the chrome spray paint go ahead and paint the skeletons. Go nice and slow, the spray will get those guys spinning pretty quickly.

Let them hang out while they dry.
4. Once dry it's time to "string 'em up". I used 1/8" wide ribbon and tied a noose around their necks. The flat ribbon made it a little tricky to work with, but I wanted to stay with all black. Oh, and I didn't know how to tie a noose, so I googled it. Yeah..... that will make you feel a little uncomfortable. It's not like you normally need to know how to tie a noose just for fun. Here's an easy to follow video.
5. Next up is making the loop for your door hanger. I took the ribbon nooses, made them in various lengths and tied them to a piece of chenille twist tie. Cross the ends of the tie over each other and twist around to secure the loop.


6. Using the Fun Fur crochet around the chenille loop; it's not 100% necessary to do, but makes the loop look much more substantial as well as more "finished". Don't know how to crochet around a loop? Here's a great tutorial from the Kraft Farm.

7. Now it's time to guild the lily. I wanted to stick with the black theme as much as possible, so I tacked on a piece of striped ribbon and a black jingle bell I had laying around from one of last year's projects. Go as simple, or crazy, as you like.
All that remains is for you to hang this on your favorite victim's door. The skeletons will sway as the door opens, creating an ever so slight noise....is that the undead coming for you? The tiny tinkle of the bell - a harmless, random noise, or the sound of a ghostly cat roaming from room to room?

No comments:
Post a Comment