Monday, December 9, 2013

Week 38 Craft: Distressed Sled

Ah, Christmas.  The house smells like balsam (thanks to my Bath and Bodyworks plug-in), all the decorations are up…and new craft ideas call my name.  I thought I had my supply purchasing addiction under control until Michael's introduced their new email program.  A different sale every day?  How can I possibly resist?

This week's project comes from a great post by kristieshelton.com  These distressed terra-cotta pots look amazing, and the tutorial is very easy to follow.

Hope I'm giving the proper credit; I always try to link back to the original source, but sometimes that's not always easy.  Anyway…I ran across the balsa wood section at Michael's and thought I'd try these mod-podge transfers out.   Here are what my two projects turned out like:


Here's what you need:
Unfinished sleigh (found mine at Michael's on sale for $3.99)
White cutting board (Michael's again for $2.99)
Jingle Bells (Michael's one more time…what can I say…they had a great sale!)
Craft Paint
Printer
Mod Podge
Brushes
Stain
Sprigs of faux greenery (I snagged a few from an existing garland)
Pinecones (snagged from a neighbor's yard)
Twine
Glue gun
Sandpaper
Polyurethane

Instructions:
1. Open a word document and type in your favorite Christmas sentiment in your favorite font.  For my project I used "Harrington" in a size 72.  Make sure you reverse the phrase before printing; I have a Mac, so I had to convert the document to a PDF and selected "preview", then "layout" and "flip horizontally".  

2. Cut our your letters.  Because mine were relatively simple (and because I wasn't placing them on a white background) I removed all the white around the lettering.  NOTE: because my letters were simple, and solid, I didn't worry about smearing.  If you have detail you wish to remain crisp DO NOT use a laser printer. 

smearing :(

3. Sand your wood.  This isn't totally necessary, but it seems like the balsa pieces are always rough.  It's also nice to knock off the sharp edges to help with the overall distressed look.  On the white cutting board you want to sand just to expose some of the raw wood.

4. Paint your wood.  I started with burnt umber on the sleds of the sleigh and then covered the whole piece in a taupe paint.  For the cutting board I used a dark green and once that dried used a very dry brush to apply some of the taupe over the green.
5. Once the paint is totally dry sand your sled (or cutting board) to give the piece a distressed look.  Think about where the most usage over time would show up (edges).  Don't worry, you will distress your lettering as well.  But, if you waited to do the sanding until after you applied your lettering the lettering would be sanded off before you got to the paint below.


6. Now it's time to modpodge your lettering in place.  Start by doing a dry run and decide where it will look best.  


Apply a layer of modpodge to the INK side of the lettering and press onto your sled (or cutting board).  Let this dry….COMPLETELY.  You will be tempted to start removing the paper layer, but if you don't wait 5-6 hours (even better to leave overnight) you will end up rubbing the ink right off.  And you will be sad.

7. Once COMPLETELY dry it's time to get the paper wet and CAREFULLY rub it off the wood.  Slow and steady wins the race here, and even then you will most likely remove some of the ink.  Lucky for you this project is all about looking distressed, so it's no problem.


8.  Time to let everything dry again!  

9. Once dry go back in with very fine sandpaper and distress the letters even more.  Expose some of the paint beneath.

10.  Now grab your favorite stain and cover your sled (or cutting board) with a thin coat.  Don't saturate the piece up like you normally would, use a small amount.  

You also don't want to leave it in place for a long time.  Like Daniel san in Karate Kid - wipe on, wipe off.  The stain further distresses the piece, softening the color of your paints, staining the raw wood, and adding overall a nice "depth" to your project.

11. Time for more drying.  This time you definitely want to wait overnight.  Ugh. 

12.  Polyurethane your project and guess what?!?!  More drying!  Don't skip this part; you want your project to last year after year.  Here's the sled ready for it's bling.


13.  Dealer's choice on this one.  I added greenery, some twine, bells and pinecones.  

14.  Time to stand back and admire your handiwork!


Tuesday, November 5, 2013

Just for Fun

Sorry, I've been busy building inventory for my Etsy shop for the holidays.  So....check this out just for a laugh: Epic Dog Beards 

And here's just a sweet picture:

And if you are looking for a gift for that special someone, check out my Etsy shop.  Here's a few of the new items I'm listing:


Wednesday, October 30, 2013

Week 37 Craft: Rustic Fabric Christmas Tree

OK, it's happening.  Halloween hasn't even passed and I've already moved on to the Christmas crafts.  Personally, I think Tim Burton got it right with Nightmare Before Christmas - just combine the two!
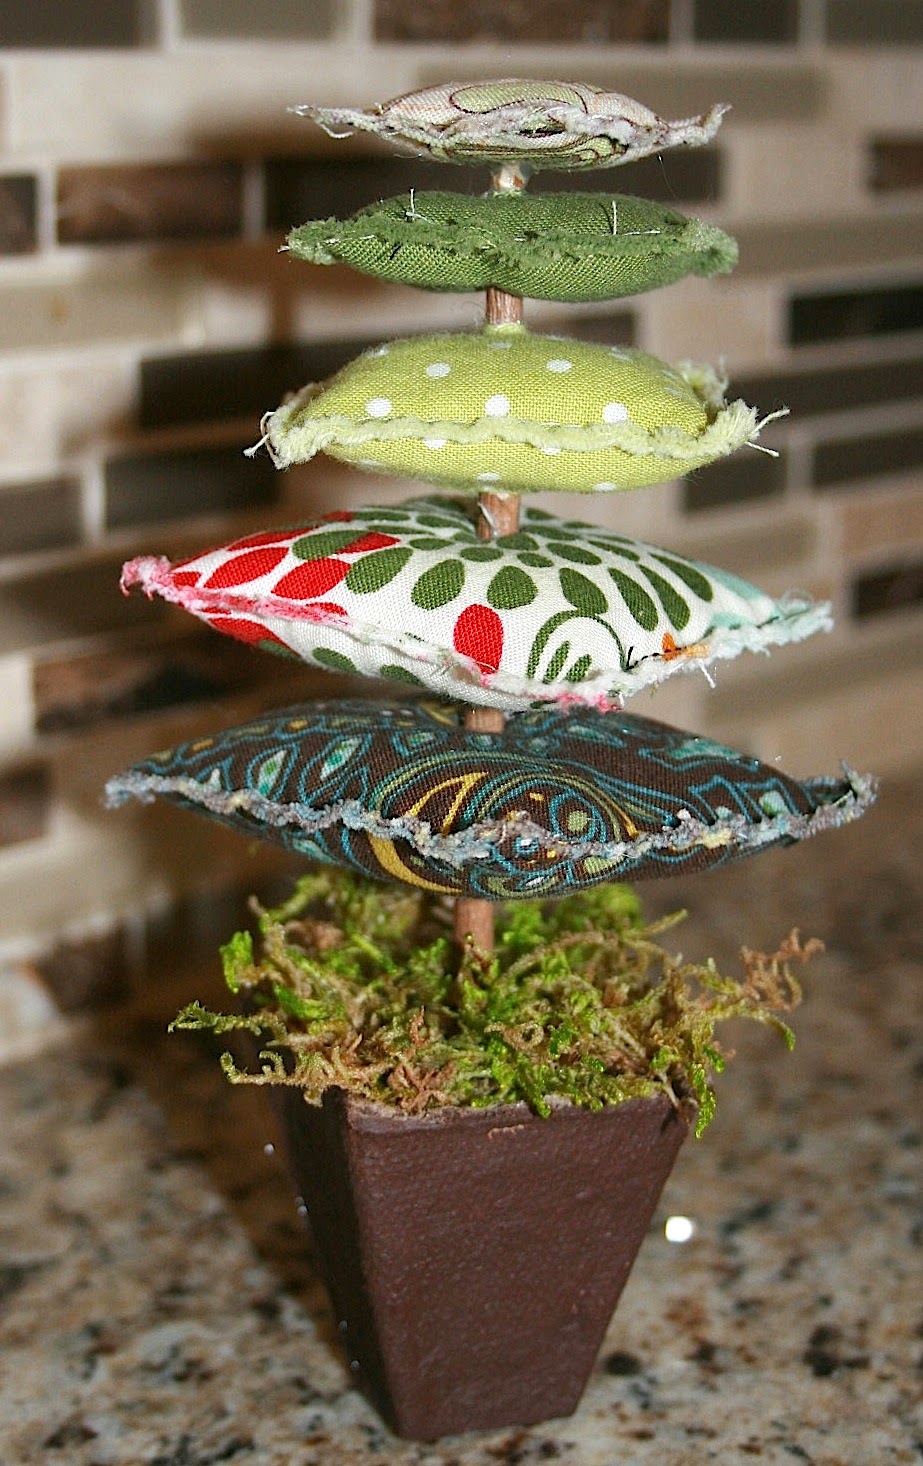
This week's craft was inspired by my need to seriously whittle down my stash pile.  Like most of you I buy fabric because I can't pass up the great price, or the great print, always with the best intentions of using it.  And like most of you the latest inspiration NEVER seems to fit with the fabrics on hand.  Sigh....So here is a project that will help clear up at least a little of that long forgotten pile of fabrics.  As a matter of fact, this gives you a chance to use up some of your ribbon and paint stash too.  The only thing I bought for this project was the peat pot.


What you need:
mini peat pots
acrylic paint (pick a color that coordinates with your fabric)
cotton fabric scraps
ribbon scraps
large upholstery needle
moss
thread
fiberfil
branch from one of your trees (or a small dowel or wilton lollipop stick)
glue gun

Instructions:
1. Separate you peat pots.  They break apart quite easily either by folding the seam back and forth, or by cutting with scissors.  I found mine at Home Depot.  I think I paid a whopping $3 for 50 of them.  50!!  You can make a whole forest of trees!  The top is 2" square, so these will be petite.

2.  Paint your pot(s).  You only need to paint the outside.  I chose burnt umber to keep with the rustic look of the fabrics I selected.

3. Sort through your stash and select at least five fabrics.  I decided to stick with greens, but these would be super cute in hot pinks and purples, or black and white, or whatever colors your heart desires.

4.  Cut out two squares of each color.  My largest is 3", then 2 1/2", 2", 1 3/4, 1 1/4" and 1".

5. Place your squares wrong sides together and using a 1/8" seam allowance sew all four sides.  Leave a small opening on one side for stuffing.


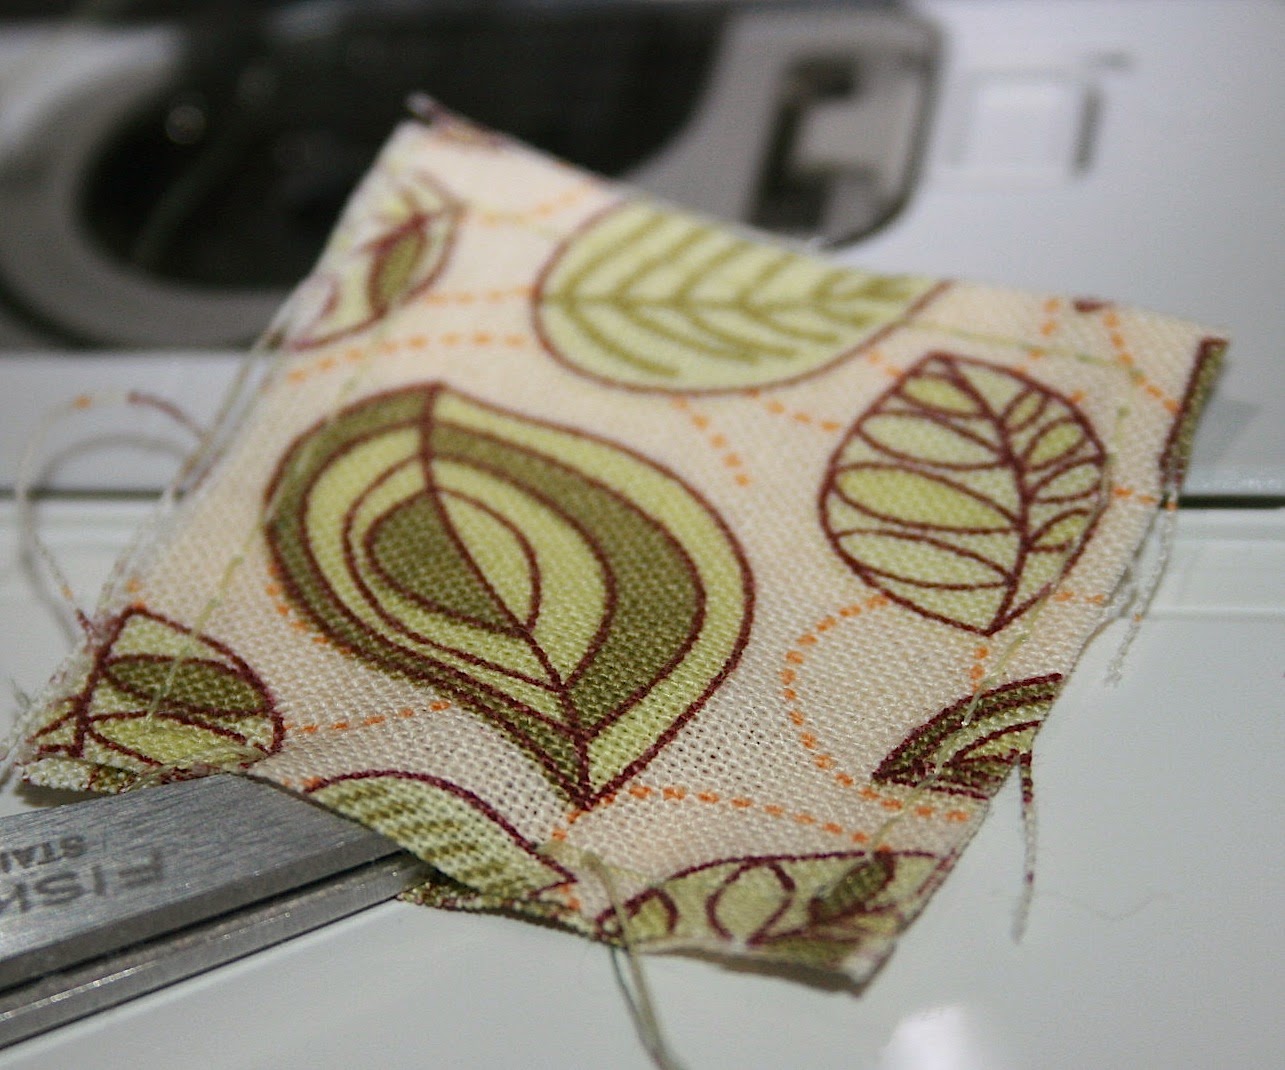
6.  Now it's time to distress the edges just like you would for a rag quilt.  Get your squares wet and wring them out.  Now is not the time for being gentle.  Really rub them around in your hands to help with the fraying.  Toss them in the dryer with a few rags and let them dry. I don't really think you needed photos for this part, but who doesn't love a "water action shot"?


7. Once dry, loosely stuff your squares.  Don't over do it; you just want a little dimension.  Sew the opening closed.


8.  Time to sharpen your stick/dowel/lolli.  Grab a knife and whittle it to a point.  Be careful!  I'm guessing you could use a pencil sharpener if you're worried about cutting a finger off.


9.  Grab your upholstery (tapestry?) needle and work it through the center of your largest square.  The large needle is to create an opening so the stick fits through easier.  Don't have an upholstery needle?  Use the tip of sharp pointed scissors.  Once you have a hole work your stick through.


10.  Work your way through the rest of the squares except for the smallest one.  With a glue gun, glue the final square on top instead of poking it through.  Trim your stick to your desired height.


11.  Drip a big bunch of glue from your glue gun into the bottom of your peat pot.  Place your stick into the glue and hold in place until it hardens.  I propped mine between two glasses so it would stay upright while the glue hardened.  While your tree doesn't have to be perfectly upright you do want it to stand on its own, so take some time to make sure it is balanced.

12. Grab a few small stones or some dirt to place in the peat pot to help with the balance.  Glue some moss on top to cover the stones/dirt.


13. Once the moss is in place add some ribbon to give the peat pot a little bling.


There you go!  These make the sweetest little trees; mine ended up at about 6 1/2".  They are so petite they would work as unique little place cards on your holiday table.  

I left space between my squares so the "trunk" showed more, but you could easily place the stuffed squares one on top of the other.  If you did it that way, you wouldn't even need the trunk - you could just glue the tiny pillows together and glue them on top of the peat pot.


Saturday, October 19, 2013

Week 36 Craft: Posed Dollar Store Skeleton

Here is a quick, easy and completely silly craft to tuck into that corner that just needs a "little something halloween".  This is my second craft inspired by Mizerella blogspot.


First go around I was inspired by the silver paint for my Skeleton Door Hanger.


This time around I tried the posing for my primping girl skeleton:


What you need:
Skeleton from Dollar Tree skeleton garland
Pot of boiling water
Scraps of tulle and ribbon
Needle and thread
Ultra fine black sharpie

Instructions:
1. Check out Mizerella's post for how to get your skeletons into the pose you want.  The basics are to heat the skeleton in the boiling water to make it more plyable, remove it from the water and very slowly bend the arms and legs into the position you want.  Once in position hold it there until it cools.  Be gentle!  These skeletons will move somewhat, but just like me, the joints are stiff and brittle.
2. I used two layers of black tulle and one of shiny orange to make her skirt.  I used pieces that were about 15" long and 2" high.  With your needle and thread run a gathering stitch through the top of the tulle and gather tightly.

3. Take your piece of ribbon and sew it into place over the gather.  Leave tails on either end to tie a bow around the waif like waist of your skeleton.

4. I wanted to give her just a little glam so I used the sharpie to add some eyelashes and fill in her sockets.

5. Her head still looked a little too plain, so I added a tiny headband.  


She found a home nestled next to the soap in my guest bath, so she can primp in the mirror for all of eternity....and wonder if that skirt makes her look fat.


Week 35 Craft: Dollar Store Skeleton Door Hanger

The witching hour is near, you hear a slight rustle behind you, but when you turn nothing is there.  Was it your imagination, or something much more sinister?  This week's project is intended to send a fun little chill up your spine: a Skeleton Door Hanger.


The original inspiration came from the Mizerella blogspot.


The post on how to make costume awards out of dollar store skeletons cracked me up.  So I jumped in the car and headed for my nearest Dollar Tree.  Not only did I find the skeleton garland, it's also where I found those great orange mugs for my "painted mug" tutorial.

What you need:
Plastic skeletons garland (found at Dollar Tree)
Chrome spray paint
Chenille twist wire
Thread
Thin black ribbon (or twine)
Fun Fur in black
Scrap of ribbon
Jingle bell (found at Joann's)

Instructions:

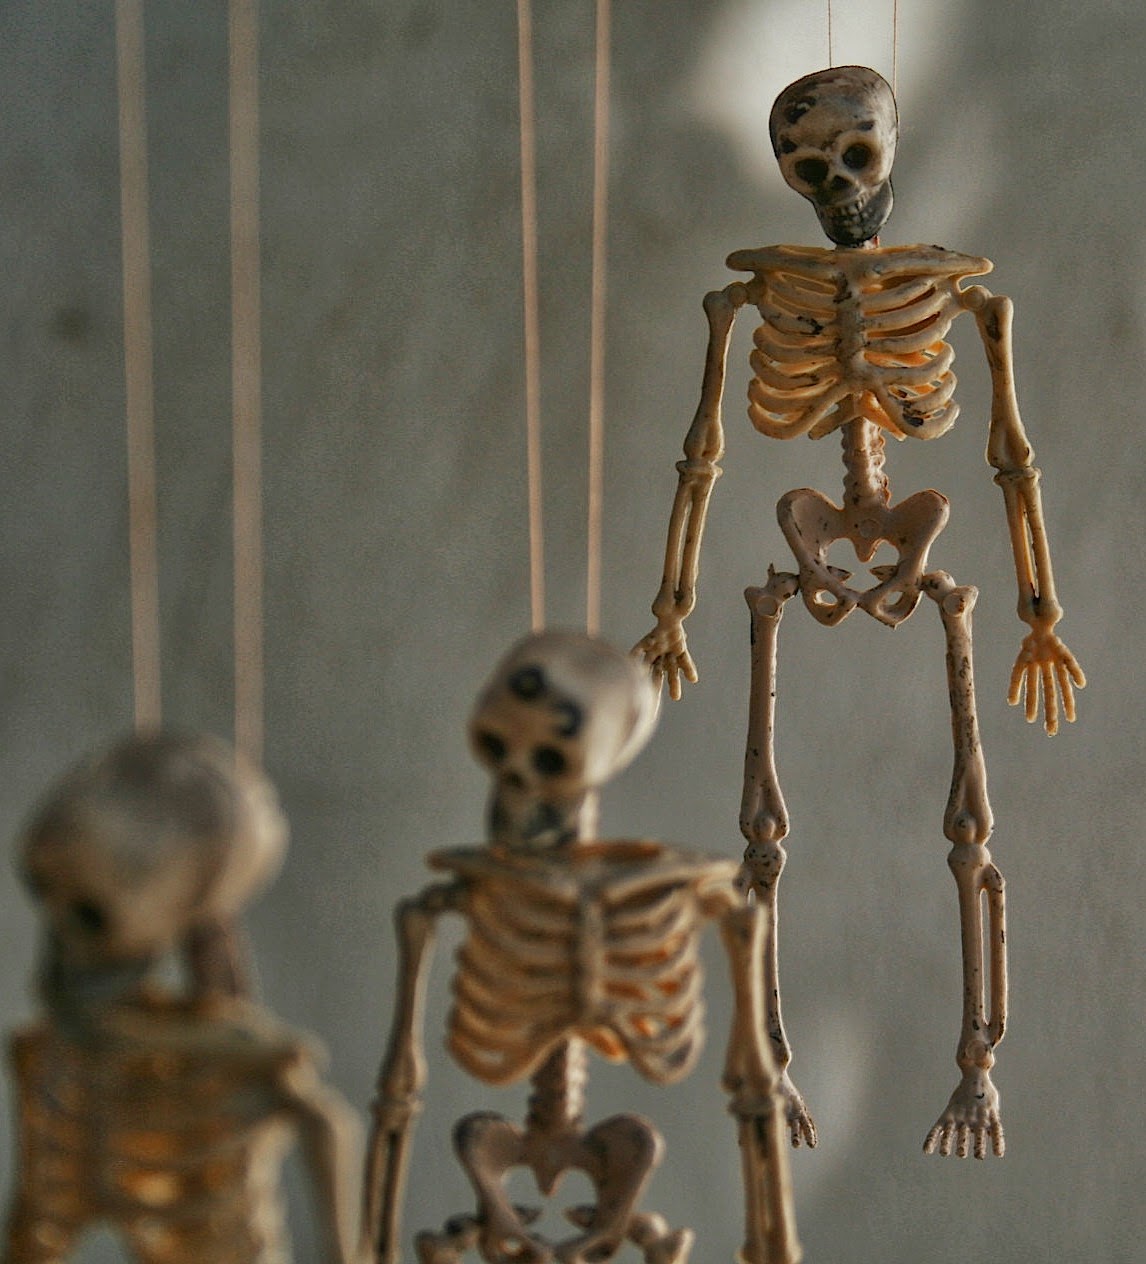
1. Start by cutting the twine off of your skeleton garland.  The garland comes with four, but I only used three.
2. Take some sewing thread, double it up and make a knot...just like you would if you were going to sew, but leave out the needle.  This will make a handy loop that you can gently set your skeleton in.  What you are looking for is a way to suspend the skeleton for painting that won't get in the way.

I looped the threads through a stick and suspended the stick between two sawhorses, I'm sure two chairs would do nicely if you don't happen to have sawhorses lying around.

3.  Using the chrome spray paint go ahead and paint the skeletons.  Go nice and slow, the spray will get those guys spinning pretty quickly.

Let them hang out while they dry.

4. Once dry it's time to "string 'em up".  I used 1/8" wide ribbon and tied a noose around their necks.  The flat ribbon made it a little tricky to work with, but I wanted to stay with all black.  Oh, and I didn't know how to tie a noose, so I googled it.  Yeah..... that will make you feel a little uncomfortable.  It's not like you normally need to know how to tie a noose just for fun.   Here's  an easy to follow video.  

5.  Next up is making the loop for your door hanger.  I took the ribbon nooses, made them in various lengths and tied them to a piece of chenille twist tie.  Cross the ends of the tie over each other and twist around to secure the loop.


6.  Using the Fun Fur crochet around the chenille loop; it's not 100% necessary to do, but makes the loop look much more substantial as well as more "finished".  Don't know how to crochet around a loop?  Here's a great tutorial from the Kraft Farm.


7.  Now it's time to guild the lily.  I wanted to stick with the black theme as much as possible, so I tacked on a piece of striped ribbon and a black jingle bell I had laying around from one of last year's projects.  Go as simple, or crazy, as you like.

All that remains is for you to hang this on your favorite victim's door.  The skeletons will sway as the door opens, creating an ever so slight noise....is that the undead coming for you?  The tiny tinkle of the bell - a harmless, random noise, or the sound of a ghostly cat roaming from room to room?