Oh. My. Gosh. I finally finished my needlepoint footstool. Do you hear the angels singing? I sure do. This project has been ongoing for over a year!
I'm sure I could have done better on the staging, but frankly I'm too excited. Even though this has taken me so long it has been a labor of love.
done...
Once the canvas was complete it was time to upholster and make the footstool.
My apologies, but this next part of the tutorial does not have many photos. A lot of upholstering the stool was a two handed job; I just couldn't stop and take photos.
What you need:
1/2" thick board cut 1/2" smaller than the size of your needlepoint
1" thick upholstery foam cut to the size of the board
Warm and White brand batting cut several inches larger than needlepoint
Staples
Decorative trim
Fabric glue
Wood glue
Paint
Stain
Polyurethane
Instructions:
1. Place the batting on a sturdy surface, center the foam over it and then place the board on top of the foam. Pulling the batting very tightly you want to staple in place on the board. That's why I recommend Warm and White brand; it really holds up to the tugging. I stapled about an inch from the edge; I recommend that so when you staple your needlepoint in place you won't be stapling over the staples from the batting. Trim the excess; especially the corners.
2. Now place your needlepoint over the "cushion" you have just created. Make sure it is centered! Turn over and staple in place. Again, you want to make sure everything is taut, but go slow! You don't want to warp your canvas.
3. Once your canvas is stapled in place glue your trim to the edge. My trim had a selvage, so I needed it to be in place before I glued it to the footstool. Trim the excess; you want to make sure you get out the bulk - especially around the corners. But, be careful! You don't want any cut edges showing around your cushion. If you are using trim with no selvage (gimp) then you could glue in place once the cushion is glued to the footstool. Again...trim the excess, but be careful you don't end up with raveled edges showing.
4. On to your footstool! No instructions here...sorry, but hubby made the box for me and he had completed it before I had a chance to get any photos. Here are the pieces cut:
And here is the completed box:
What you want is a box that is 1 1/2" larger than your finished needlepoint and 5" deep. Make sure the box has a top and bottom. I used round "feet" that I had purchased at a local upholstery fabric shop. I'm pretty sure that Home Depot and Lowes carry some as well.
5. Paint your box and feet.
6. I thought the box looked a little plain, so I added a stencil. You can select an image from the web and print it out; I just typed Aloha into a "word" document, enlarged it until I was happy and printed it out.
This is a pretty straightforward freezer paper stencil. If you have never done one before here is an easy to follow tutorial from
the Farrar Four blog. Surprisingly, the freezer paper adhered pretty well to the painted wood!
I dry brushed the stencil to give it a little bit of an aged look.
7. Next, I taped off lines on the box and dry brushed in a couple of stripes. Note that I left most of the top unpainted; this is so the glue will adhere better.
8. To tone down the paint even more I went over the paint with some walnut stain and wiped it off. After everything dried I added a couple of coats of polyurethane.
9. Once the polyurethane has dried for several days it's time to glue your cushion in place. Note: if your feet need to be screwed into place make sure you drill your screw holes before glueing the fusion in place.
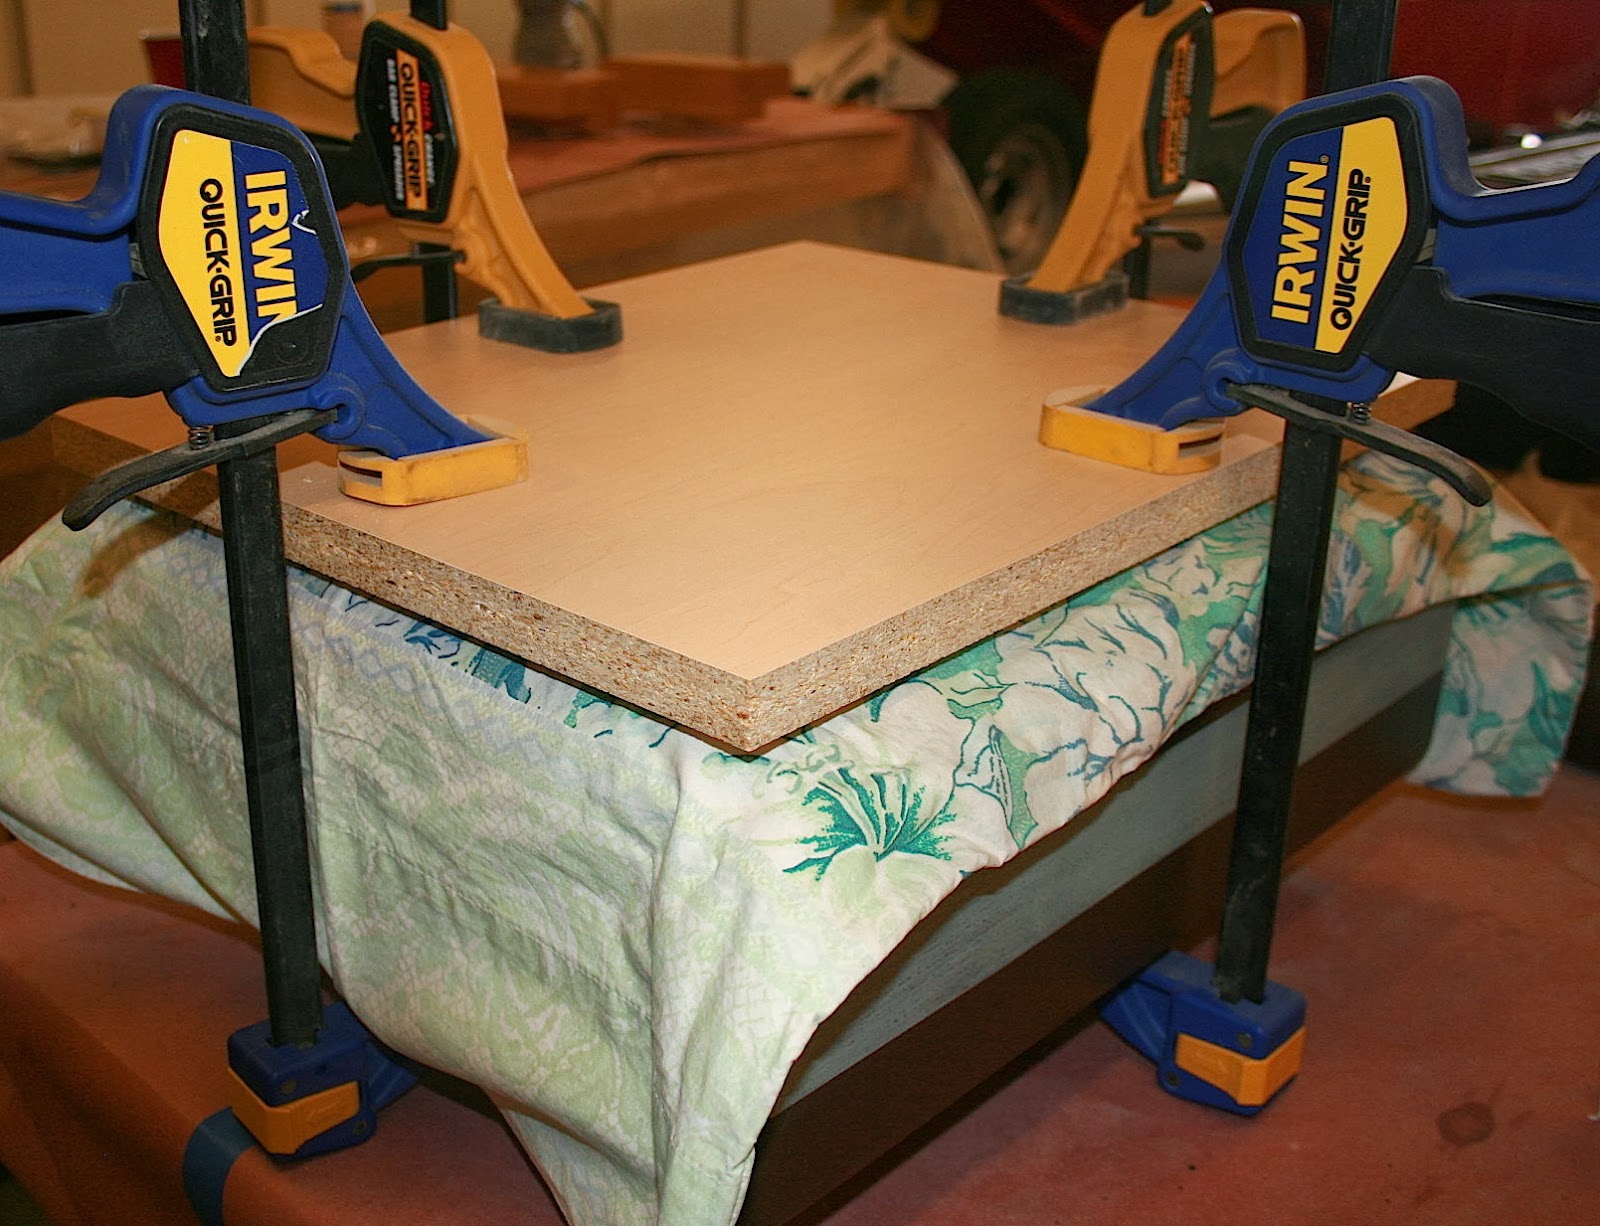
10. Spread your glue on the top and carefully put your cushion in place. You don't want any glue seeping out, so don't get too close to the edges. Once you are satisfied put a towel (or something else soft) over the cushion to protect it. Place a piece of wood that is at least as large as the cushion on top and then clamp in place.
If you don't have clamps then weight the wood down with something VERY heavy. You want to make sure the cushion stays in place.
11. Once the glue is dried go ahead and put your feet in place. If your feet screw in place make sure you drill the holes before glueing the cushion in place.
Just like that...and 14 months later...you are done!
Time to sit back and put your feet up!


