Wednesday, August 22, 2012

Refinishing a Table and Chairs


When my husband and I bought our first home many years ago it took just about every penny we had to our names.  And when I say every penny I mean that first year we couldn’t even afford a Christmas tree, let alone gifts to put under it.  We slept on hubby’s college water bed, kept our clothes in my parent’s old dresser and my fantastic mother-in-law gave us her dining room set so we didn’t have to eat off of TV trays.  It was a beautiful set, and I was so grateful to have it.


Fast forward 26 years and that fabulous set was showing its age (much like me).  The legs have been chewed on by three different dogs, someone left a leaky iron on the table, and who knew southwest mauve could ever go out of style?

I wasn’t ready to give up on this set, and hey, the new one I picked out was over $7,000 (ouch).  But what to do?  The idea of sanding six chairs with so many curves did not appeal to me.  Taking some inspiration from Pinterest I decided to try my hand at painting the set.  Best case scenario I’d be happy with the outcome, worst case I needed a new set anyway. 


Step one: I used wood filler and filled in all the puppy chew marks on the legs.
Step two: I lightly sanded all the chairs and table base just enough to rough up the surface. 
Step three: Using flat paint I painted the chairs.  I just color matched the baseboard paint to ensure it would coordinate; it took three coats.  My guess is that if my sanding had been a little more thorough it would have only taken two coats, but with all those nooks and curves I think I would still be sanding today!  Make sure you let the paint dry completely between coats. 


Step four: The thought was to get some faux age into the nooks by rubbing some stain over the furniture and wiping most of it off.  The happy accident is that not only did I get that dark tone in the nooks, it gave a nice patina to the overall finish.  Yeah!
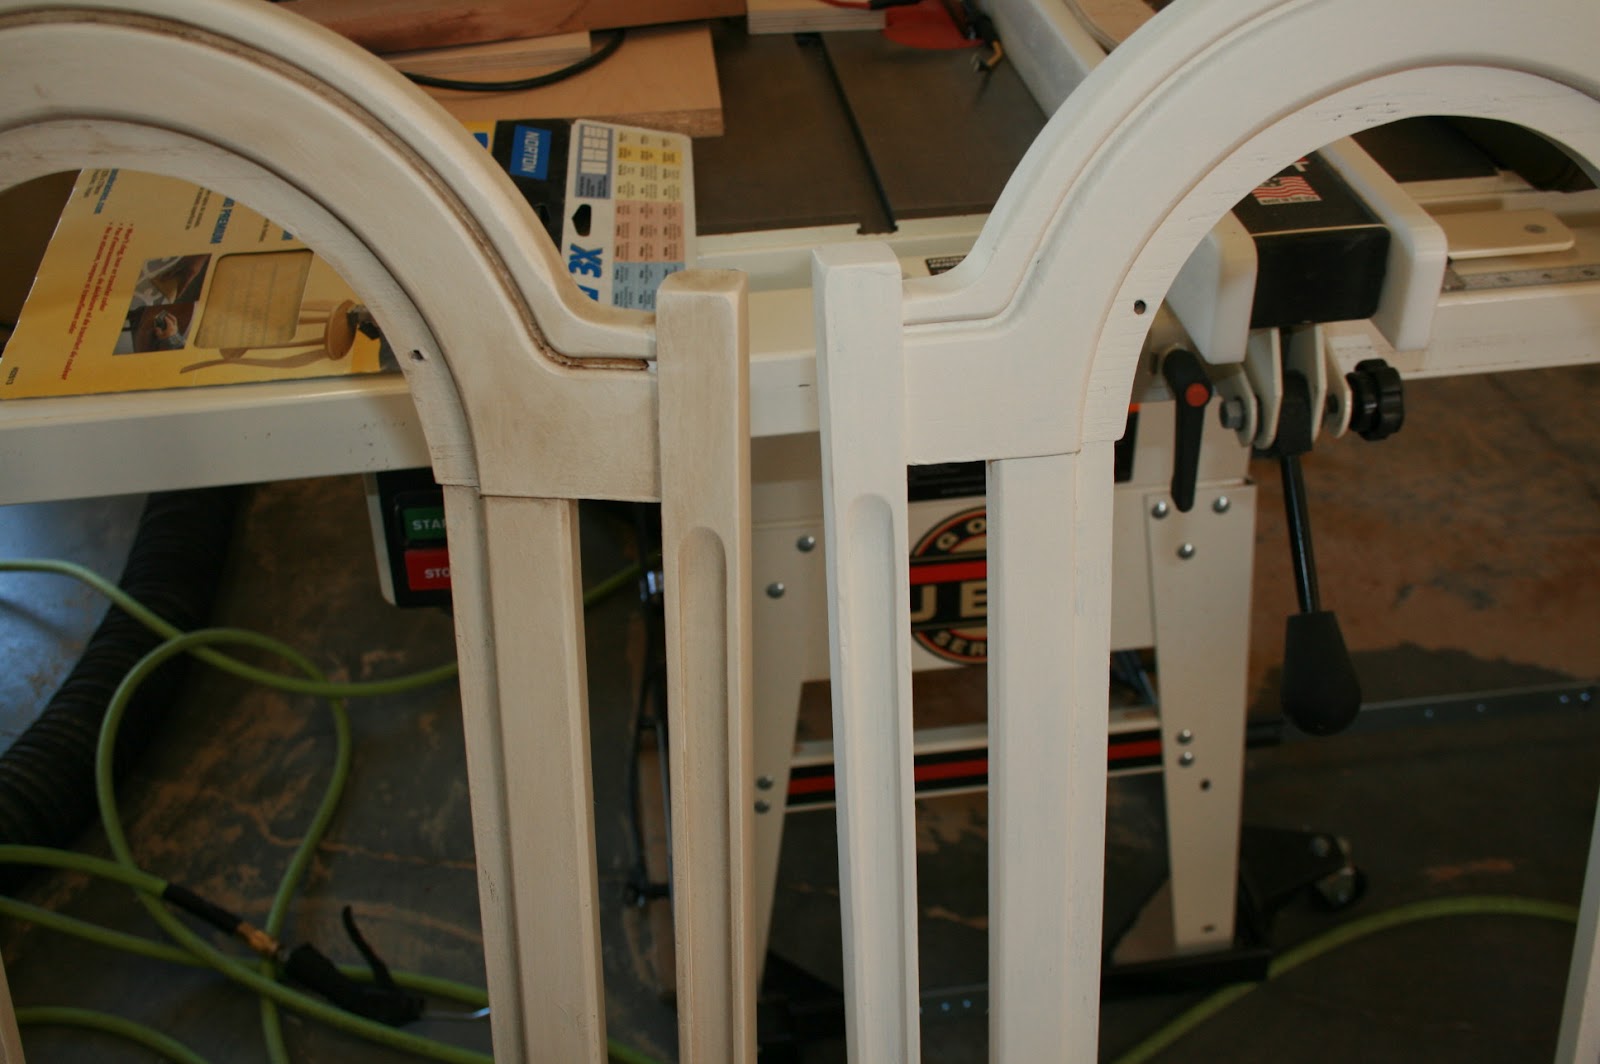
Step five: Because the stain is soaking into paint instead of wood it took much longer to dry – I let it sit two whole days. 
Step six: The tabletop had water damage to the veneer, so I knew I really had to sand that out.  Another happy surprise…the damage sanded out without ruining the veneer!  This excited me so much I decided to re-stain the top; this took two coats of stain.


Step seven: Sealing the table and chairs to protect the new finish.  
I use Old Masters gel polyurethane.  This is the greatest product ever invented.  If you aren’t using it run, don’t walk, to their website myoldmasters.com and find your local retailer.  I can’t say enough about this product; it leaves your wood with a finish smooth as a baby’s butt.  It looks like petroleum jelly; you apply it with a brush and wipe the excess off with a soft cloth.  Zero bubbles, zero brush marks.  Did I mention I LOVE this product?


Step eight: Re-upholstering the chairs.  This post is more about the wood, so I didn’t take photos of the upholstering.  Sorry.  Here are the quick cliff notes:
1.     Unscrew the back and bottoms of the chairs.
2.     Remove the 500,001 staples that hold the fabric in place.
3.     keep the fabric from one seat and one back to use as a pattern for the new fabric.
4.     Determine the yardage you will need by first measuring your “pattern”.  Most upholstery fabric is 54” so using that as a guide to determine if you will be able to “stack” any of your pieces (I could fit two seats in the 54” but not two backs).  MAKE SURE YOU BUY ENOUGH FABRIC – ESPECIALLY IF YOU ARE USING A PATTERN THAT NEEDS TO BE CENTERED. 
5.     Cut out new cushions if you need to.  I lucked out there and could re-use mine. 
6.     Place your new fabric over the cushions and use 500,001 staples to fix everything in place.  You want to pull snugly on the fabric, but not so tight that you are warping it.  Start by putting a couple staples on top, then bottom, then left side and lastly right side.  That gets everything in place, and then you can staple like there is no tomorrow.

Step nine: screw the back and seat to the chairs and voila!  New dining table and chairs. 

  I think it looks great; that old set has a new life.  Of course I put it immediately back to work as my craft table.  Oh well, at least it looked good for a day or two. 

Tuesday, July 31, 2012

Chevron Skirt


I saw this picture of Dianna Agron wearing the cutest chevron skirt and thought gotta have it!  Then I got to looking at the style and realized that a high gathered waist was not the most flattering style for me so I changed my thought to: gotta make it!


Materials:
One solid color skirt (I used one of my Six Seam Skirts)
3/8” grosgrain ribbon in the color of your choice
Small ric rac in the same color as your other ribbon


Starting at the very bottom I pinned the grosgrain ribbon around the hem of the skirt.  Using my widest zig zag stitch I sewed the ribbon to the skirt.  One down and a seemingly endless amount left to go!  


Next I placed the ric rac about ¼” from the first ribbon.  I did not pin this in place (well, I tried and after about three pins realized it was like trying to pin running water in place…the ribbon just kept moving!).  Instead, I held it in place as I slowly worked it through the machine.   Repeat this pattern until you have the desired number of rows. 

I considered stopping right here; this looks great with just the embellishment at the bottom.  But darn it – I wanted those chevrons! 


And how exactly was I going to get those chevrons?  Looking at the inspiration photo it looked like Dianna’s skirt had two “peaks” per side and three “valleys” which means I needed five “points” per side.  What’s the easiest way to determine where those points should be without calculators, NASA scientists and prayer? Fold the skirt in half and then half again.  Iron the folds and when you open the skirt back up you have three lines indicating where your “peak” or “valley” should be placed.  For symmetry the center should be a “valley” (or where the chevron point is down).  The side seams indicate the other markings where your “valleys” should be.  
Play around to determine how much of an angle you want for each chevron; I decided that I wanted to be 6”. 


Next, decide where you want your chevrons to start.  Place a pin to mark each high and low point.  Starting with the grosgrain ribbon pin and sew your first chevron in place.  You want a nice point for each chevron.  I got mine by fiddling and pinching until I was happy with it.  Want to learn the proper way?   Here is a link on how to miter a corner

The pattern on Dianna’s skirt has several rows of grosgrain in the middle.  Varying from that I chose to rotate between grosgrain and ric rac just like the bottom pattern.  Repeat until you are pleased with the number of chevrons you have, or if the thought of pinning another row of angled ribbon starts to cause murderous thoughts to enter your head – whichever comes first.

Voila!  This skirt is so cute I quickly got over the disappointment that it didn’t turn me into a tall leggy beautiful blonde with a beautiful singing voice.  Hope you enjoy your skirt as well!    

Thursday, July 19, 2012

Easiest Recipe in the History of Mankind

Hawaii is the greatest place in the world.  Now, to be fair I haven’t traveled the entire world (yet), but of the places I have been Hawaii tops it all.  If you disagree please feel free to send me two round trip tickets to your favorite destination and I will be happy to make a comparison.  Until then I am sticking by Hawaii.

Nestled in a small building, in a small town on the Big Island was a fabulous restaurant – Huli Sue’s.  This recipe is a tribute to one of their sauces and a great place that (sadly) is no more. 


I feel a little guilty even calling this a recipe because it only contains two ingredients, but together they create condiment magic.


Ingredients:
Ketchup
Chili paste

Instructions:
In a small bowl combine 1T of chili paste for every 3 T of ketchup.  Mix well. 

This tastes amazing on burgers, french fries, meatloaf…anywhere you used to use ketchup.  My husband says it tastes better with shrimp than cocktail sauce.  Now – fair warning – this is spicy.  I don’t recommend this for anyone who can’t handle heat (small children or anyone from the Midwest).  The nice thing about this recipe is you can combine it in the ratio that works best for you.  If you feel something can’t be categorized as spicy until there is a sheen of sweat on your brow than by all means switch it up to a 50/50 ratio or higher.  Like a little spice?  Drop it down to 25/75.  Store any leftovers in the fridge.